Getting Started
1. Charge your battery!Make sure you charge your battery before you put it in your robot.
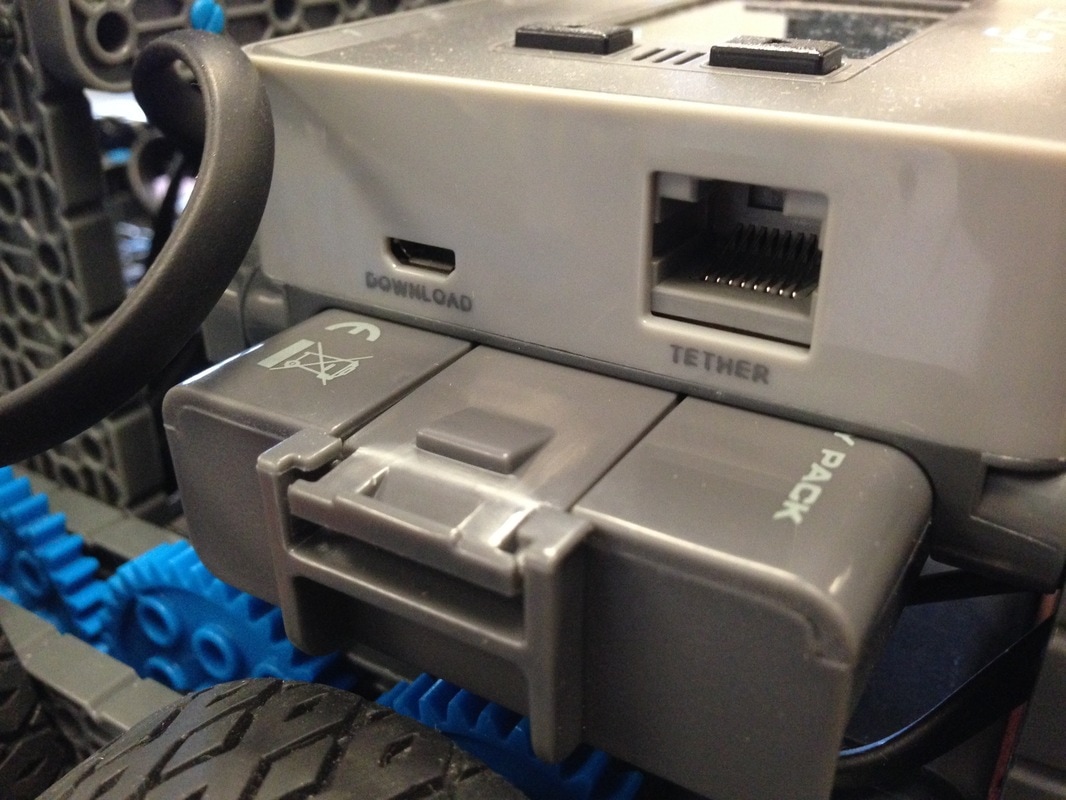
Removing your battery.To remove your battery, push in slightly, then press tab down and push out the battery. (Push towards the tab.) See teacher for help if necessary.
|
STEP 1 Once the program is installed, please connect all of your sensors and motors to your Robot Brain. Then connect the Robot Brain to your computer with the USB cable, and turn on the Robot Brain. After this is complete, you can launch the VEX IQ Utility program. Pressing the INSTALL or Update All Components button will update the firmware to the latest version, one device at a time. Go to STEP 3 below. |
3. Programming your robot.
- Open RobotC 4.x folder unless there is a shortcut on your screen for Graphical ROBOTC for VEX Robotics.
- Open a new file
- Use the blocks to have the robot move forward then turn right.
- SAVE this in a new folder called VEX Programs on the Desktop. Call the program testrun.
- Connect your robot with the USB cable and turn it on.
- Click on Firmware Download. Click ok.
- Go to the menu and click on the tab called Robot.
- Go to VEX IQ Controller Mode then click on Autonomous - No Controller Required.
- Click on Compile Program button on the top.
- Click on Download to Robot button.
- Unplug the USB cord from the robot.
- Use the menu on the robot to find your program.
- Click Run.
- Revise or create new programs to test how far it goes with one rotation. Experiment.
